Last week I covered some of the basics for making a travel journal from a composition notebook. ( If you missed that post, go HERE.) This week, I will show you how I finished my cover.

The first thing I did was texture the cover. Composition notebook covers are sleek and smooth, and I wanted something that would feel textural. As luck would have it, Keith received a package in the mail that had oodles and oodles of brown wrapping securing it's contents. Of course, I snagged the paper for journaling!

I tore 2 pieces of the paper about 3 inches bigger than the cover size, making sure that I had at least one straight edge to place against the spine. After tearing them to size, I wadded them up as tightly as I could and then carefully straightened the paper back out making it relatively flat.
I applied Liquitex Gloss Gel Medium generously to the front cover and applied the craft paper to the wet cover, carefully aligning the straight edge against the black spine of the notebook. I then repeated this step with the back cover. I allowed the covers to dry for 15 minutes or so while I sifted through my decorative papers and stickers. After the covers were reasonably dry, I cut the craft paper along the covers allowing about an inch for overlap. Using more gel medium, I adhered the remaining craft paper to the inside covers, allowed that to dry, and then applied my paint layer. Here's the inside back cover at the end of this stage.

To make my journal label, I cut cardstock into the shape I wanted. I used scrapbook paper to cut out the letters and numbers for the label. I lightly smudged wet acrylics around the label, letters and numbers to give them an aged look. I also used gel medium to apply the letters and numbers to the label, and then the label to the journal. I cut "hinges" from textured scrapbook paper and applied travel stickers to the cover in a random fashion. As a final step, I applied a thin coat of gel medium to the entire cover. It feels wonderful!

Next, I moved on to the inside front cover. I wanted to give this a nice finish so I cut down a piece of scrapbook paper to size and glued it to the cover - again using gel medium.

For the inside back cover, I decided that I wanted to attach an envelope so I would have a place to stash all the wonderful goodies that I know will find their way to me during the course of a day. Having also recently worked in my Moleskin, I decided that putting an elastic strap on my journal was a brilliant idea!

I decided to use Seal All as adhesive for the elastic. (Seal All is essentially the same thing as E-6000, but at a much more reasonable price. Hubby turned me on to that when he brought some back from the automotive store.) I bought the black elastic and gel medium at our local craft store.

I recycled an old mailing envelope to use as my ephemera catch-all. First, I dabbed acrylic paint on the side of the envelope that would show, and I also painted the inside flap so it would cover up the gummed surface and look pretty.


I also applied more letters from scrapbook paper using gel medium, and applied a light coat of acrylic paint over them as well.
To apply the elastic band to my cover, I made two slits in the cover just large enough to accommodate the elastic. I bushed the elastic through with the tip of my craft blade and applied a bead of the Seal All along the elastic pressing it firmly in place.

To determine how much elastic to use, I bulked up my journal a bit using the pages I had previously removed from the notebook. (I'll go into that in detail in Part Three of next week's Tuesday Tips and Techniques) I used enough elastic to make hold the journal in a lightly snug fashion without stretching the elastic.

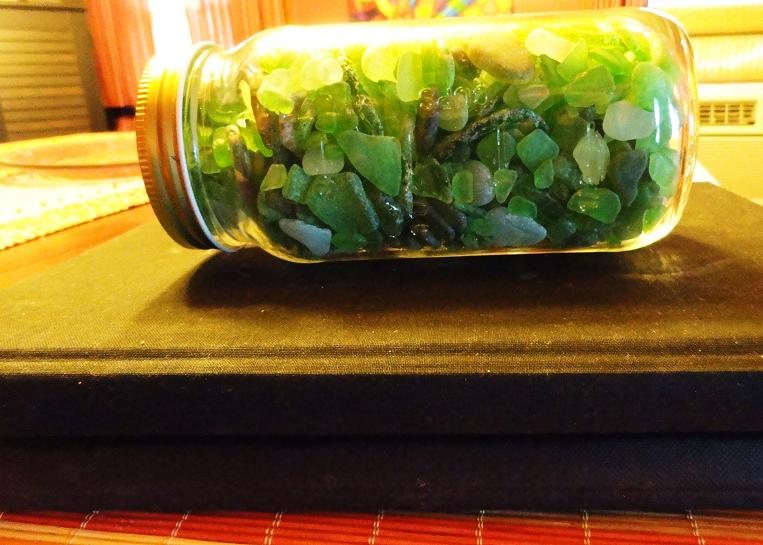
Once the elastic was glued, I applied more Seal All to the back of the envelope and put it in place. I don't like loose corners, so I secured all four corners with bobby pins. I wanted to make sure the envelope was firmly adhered to the cover, so I placed a heavy book and a jar of beach glass on top of the journal and let it dry for most of the day.
VOILA! The finished cover of my travel journal. I can't wait to show you the inside next week!

THINGS TO CONSIDER FOR YOUR TRAVEL JOURNAL COVER
1. Think about your destination when you design your cover. Are you going away for an art retreat week? (LUCKY YOU!) Maybe you would prefer to spray paint a graffiti style cover. Are you going on a European vacation? Maybe you would prefer to collage your cover with images that you anticipate seeing. The possibilities are endless for creating your cover to reflect your destination.
2. When will you be journaling? If you plan on journaling ever day (as I do), it's important to make your cover as durable as possible. 3-D items are best left to the end of your trip so they don't get caught on other items in your purse or luggage. Remember that applying 3-D items to your cover may also make it nearly impossible to open your journal flat when you want to work in it.
3. Make your cover so juicy and appealing that you can't stop running your hand across it. Yep - I'm talking major eye candy. You want the cover to be as beautiful as the wonderful time you will have on your vacation!
NEXT WEEK: Part Three - Preparing Your Pages
CELEBRATE * LOVE * CREATE
I love your journal!!!! I can't wait to see what you do with the pages :0) Have a great week :0)
ReplyDeleteThank you, Carol! I'm having a great time with it.
DeleteThanks for step by step process on your travel journal. I am so inspired by this idea. I have started working on with my daughter for our summer adventure later in August. I will be incorporating a lot of these ideas. Especially the envelope for catching the miscellaneous treasures we pick up along the way.
ReplyDeleteI'm so glad you're finding this helpful, Laurie! I'm finding that by working on my journal, it's raising my level of excitement and anticipation for our adventure. I just can't wait! I'm anxious to see what you and your daughter do with your journal, too! ♥
Delete