Acrylic Paint Stamp Technique
This technique takes some prep, but once the prep is over you can design LOTS of paper! The first order of business is to gather all of your supplies. You will need stamps, stencils, card stock (or other paper - experiment! When Barb and I did this technique in her studio, we also used muslin fabric and it worked great.), craft acrylics, a paint brush, containers for mixing, water, paper towel (or white shop towels - these will act as your stamp pad), and a brayer (I actually used an old rolling pin).

The next step is to select your colors. You want to choose three or four colors that are relatively analogous (next to each other) on the color wheel. For example, you don't want to choose red and green or add yellow and purple together because they will become brown. Of course, if you're looking for lovely browns, this is a good way to go.
You're going to mix your craft acrylics with water in an approximate 50/50 mix. You want to make it similar to ink consistency. I used an egg carton to mix my paints, filling each cup about half full. Sparkly and metallic paints turn out great using this technique.

Next, you need to prep what will be your "stamp pad" by folding your paper towel or shop cloth.

I used a shop cloth. First, I folded it into quarters...

Accordion-folded it all the way across, and then folded it onto itself into thirds.

Now the fun begins! This is going to be messy, but it's going to yield lovely results. Take a paint brush and begin applying your paint mixes to your folded towel.

Make sure the towel is totally saturated with your paint mixtures. Open your towel in sections and be sure to get paint on every white surface.


You'll end up with a totally saturated, beautiful "stamp pad". Now it's time to decorate some paper! Choose your first page and lay your painted towel on top of it.

I've selected one of my Styrofoam stamps to being. I pushed the stamp into the towel in different positions. Part of the excitement of this method is that you don't know what you're getting until you lift the towel.

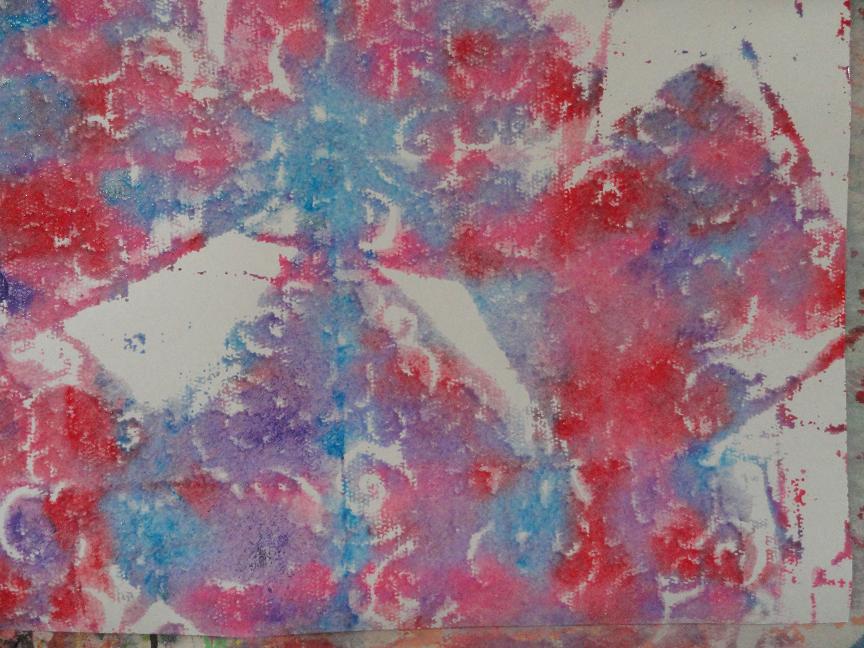
I wonder how these leaves will print? I'll just lay them out on the paper and use the rolling pin across them.

Wow! I like the way these turned out. I like them a lot!

Just tossing your towel unto the paper in a haphazard fashion will put a few interesting lines and creases on the page.

I decided to use this piece of fencing that I brought back from Barb's - Thanks, Barb!


I used some more of my homemade, Styrofoam stamps...

....and then I experimented with a piece of needlepoint plastic I have. It turned out to be one of my favorite results.


I decided to re-position my towel and add some additional stamping to the mesh background. I like!


Combining several stamps yields surprising results.

The more you print, the softer the prints become. I printed eleven pages with this towel, but I could have printed another half dozen. Don't even think about throwing the towel into the trash! Let it dry and you can use it in another project. If you've used two-ply paper, you'll be able to pull it apart when it dries.

These papers dry rapidly, so once you've finished with first printing, you can prepare a second towel and apply additional prints over your first. You'll get some great results. I used turquoise, light green, and gold mixes for my second printing, and I'm quite pleased with my finished papers.


I hope you'll give this technique a try. You'll have a lot of fun and you'll be surprised at how many wonderful combinations you come up with as you're experimenting. The only problem will be what to do with all these wonderful papers once you've finished! Now what will I do to complete the back of these papers?
CELEBRATE * LOVE * CREATE


